


My shop is temporarily closed .
I invite you to take a few minutes to explore the blog.
Try a free pattern!
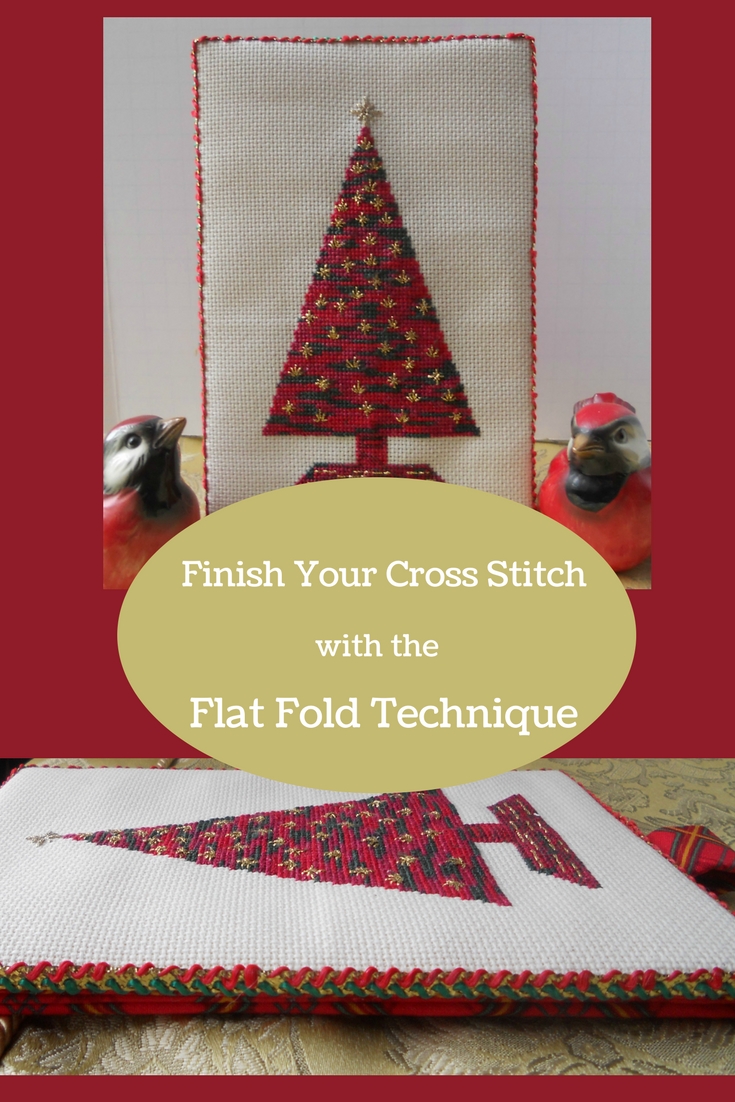
What are your favorite ways to finish and display your cross-stitch projects - framing, wrapping it around an art canvas, pillows, or ornaments? How about trying something different? After looking for a different way to finish some of my newest projects, I decided to try the flat fold finishing technique. Let me share my experience with you here. I think you will agree that you should try it.
What is Flat Fold?
Flat fold is the process of mounting your stitching on a board which is then “sandwiched” with three other covered boards. It creates an easel type display for your stitching and allows you to fold it up for storage. It’s a great way to finish pieces that you only want to display during a particular time of year, like Christmas.
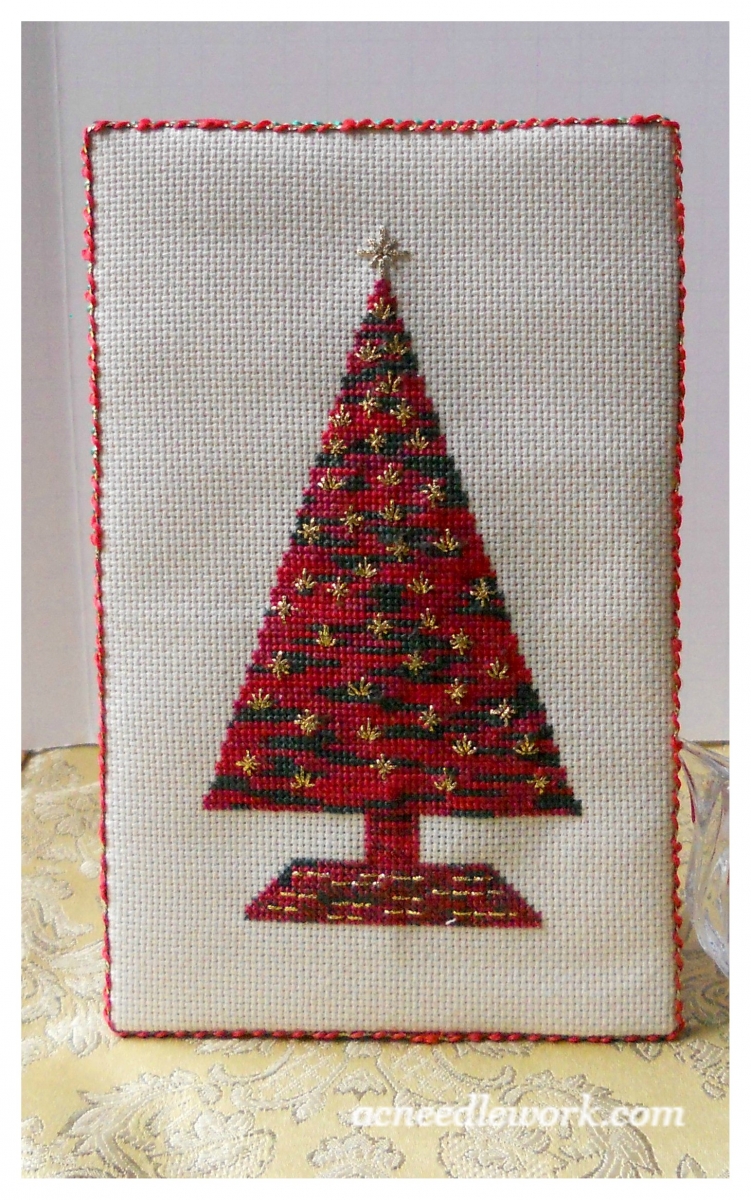
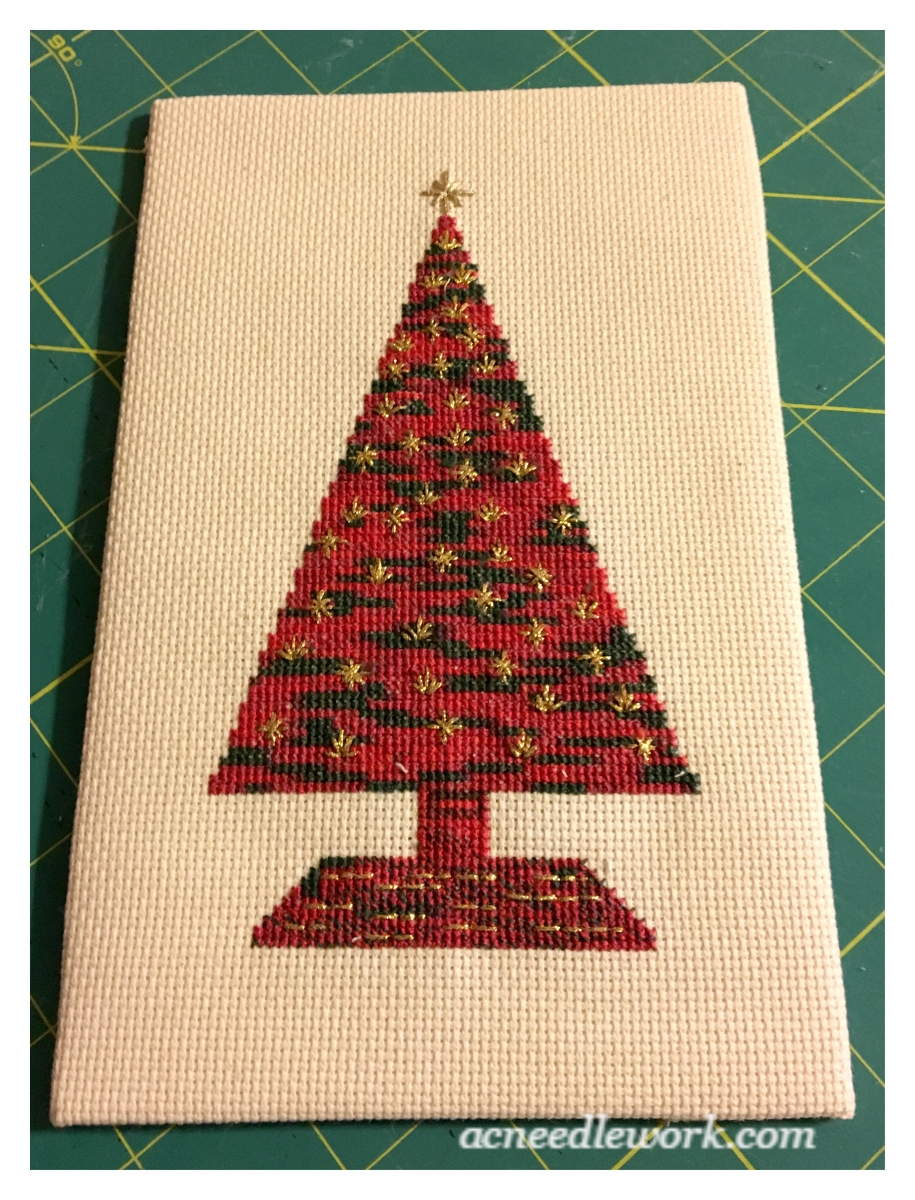
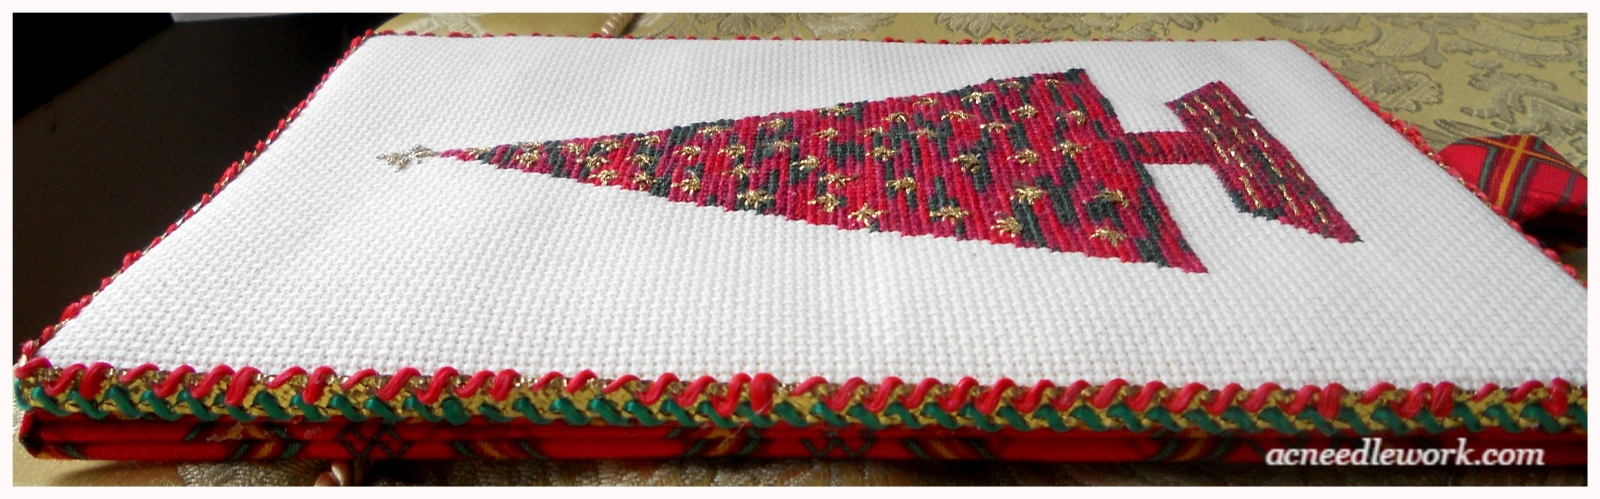
Featured Design - Christmas Tree Transformation from AC Needlework
Where Can I Learn This Technique?
The purpose of this post is not to teach you how to do this process. After searching the internet for a tutorial on flat folding, I found Vonna Pfeiffer, The Twisted Stitcher! What a find it was! Her step-by-step tutorial (with great photos) is the one I followed. I highly recommend it to you!
Photo Walk
Here is a brief photo walk through my experience making a flat fold.
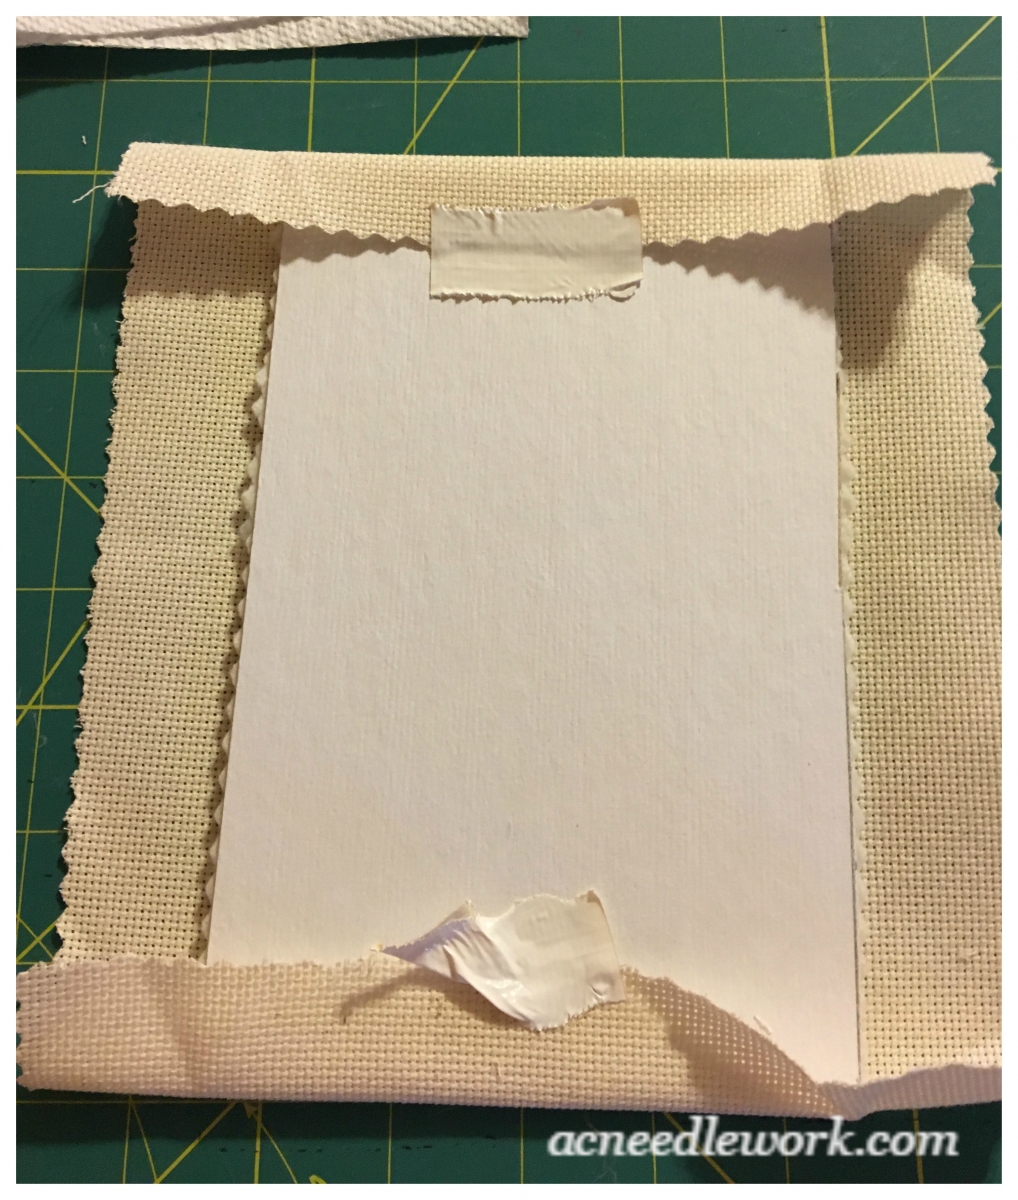
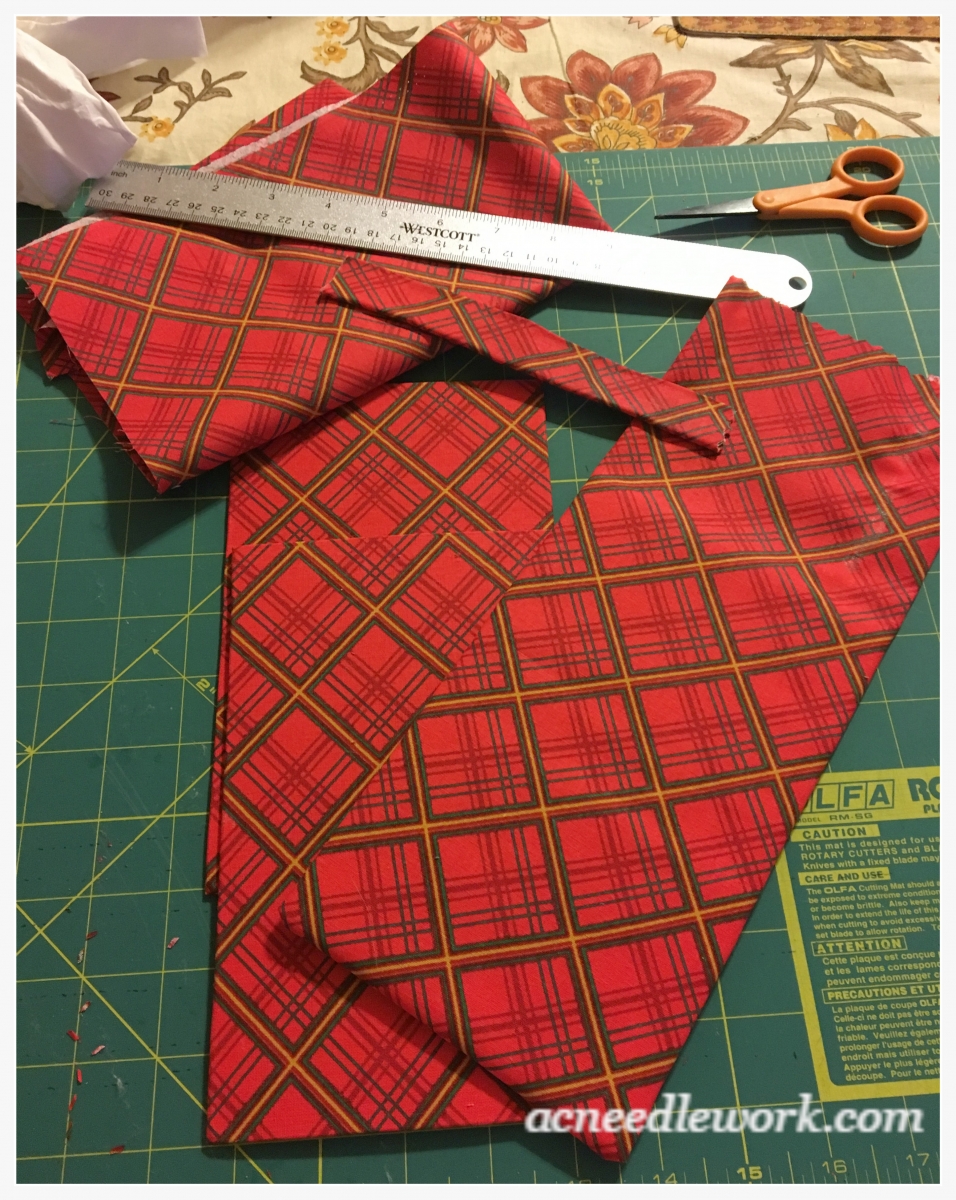
After cutting 4 acid free mounting boards to size, I covered 3 of them with fabric and mounted my stitched piece on the fourth. I attached cotton batting to the back and front boards.
You can find acid free mounting boards on line or in craft stores. I used mounting boards that had a sticky surface on one side, which kept me from having to glue the fabrics and cotton batting to the boards.
Board Preparation
.jpg) |
 |
.jpg) |
| Self-Stick Mounting Board | Mount self-stick board to stitched project | Mount self-stick boards to backing fabric |
Boards Mounted
.jpg) |
 |
 |
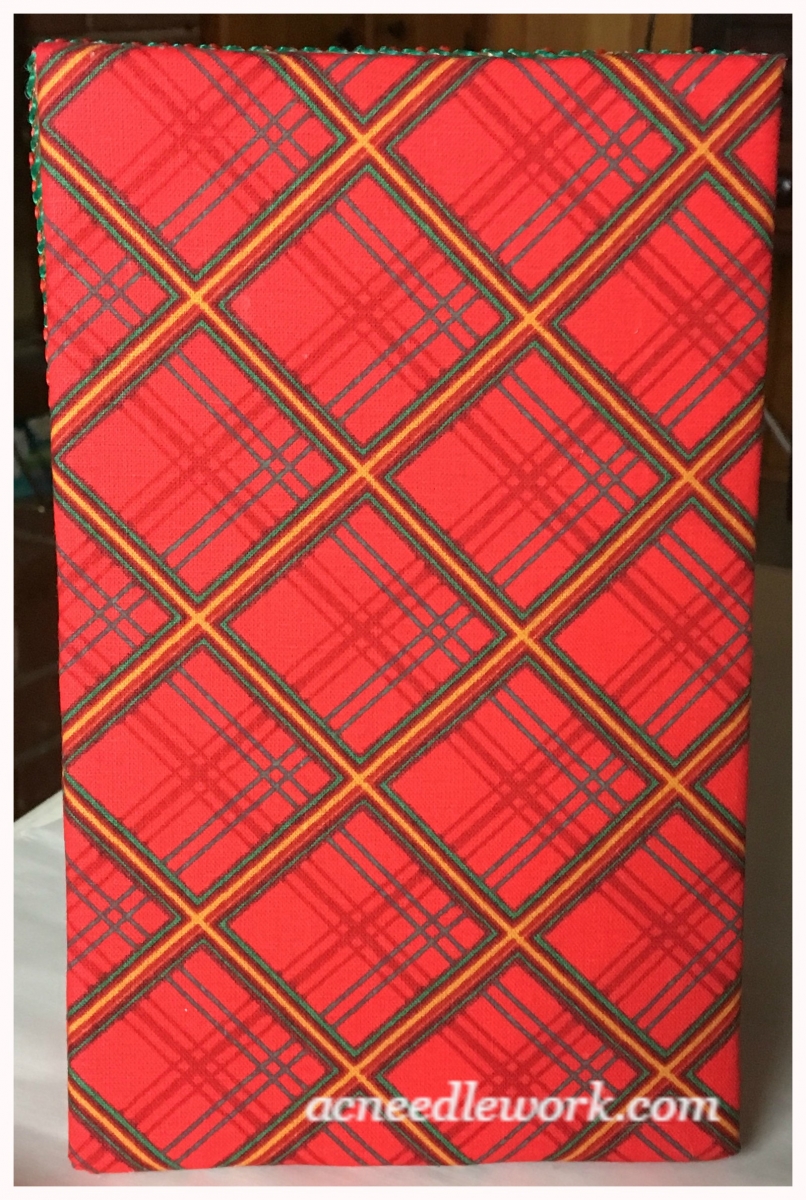
| Be sure your stitched piece is centered on the mounting board | Mounting finished | Other boards covered with fabric |
Once the individual boards are covered, then put them together. I will refer you again to Vonna Pfeiffer’s, The Twisted Sister, tutorial.
Finishing Touches
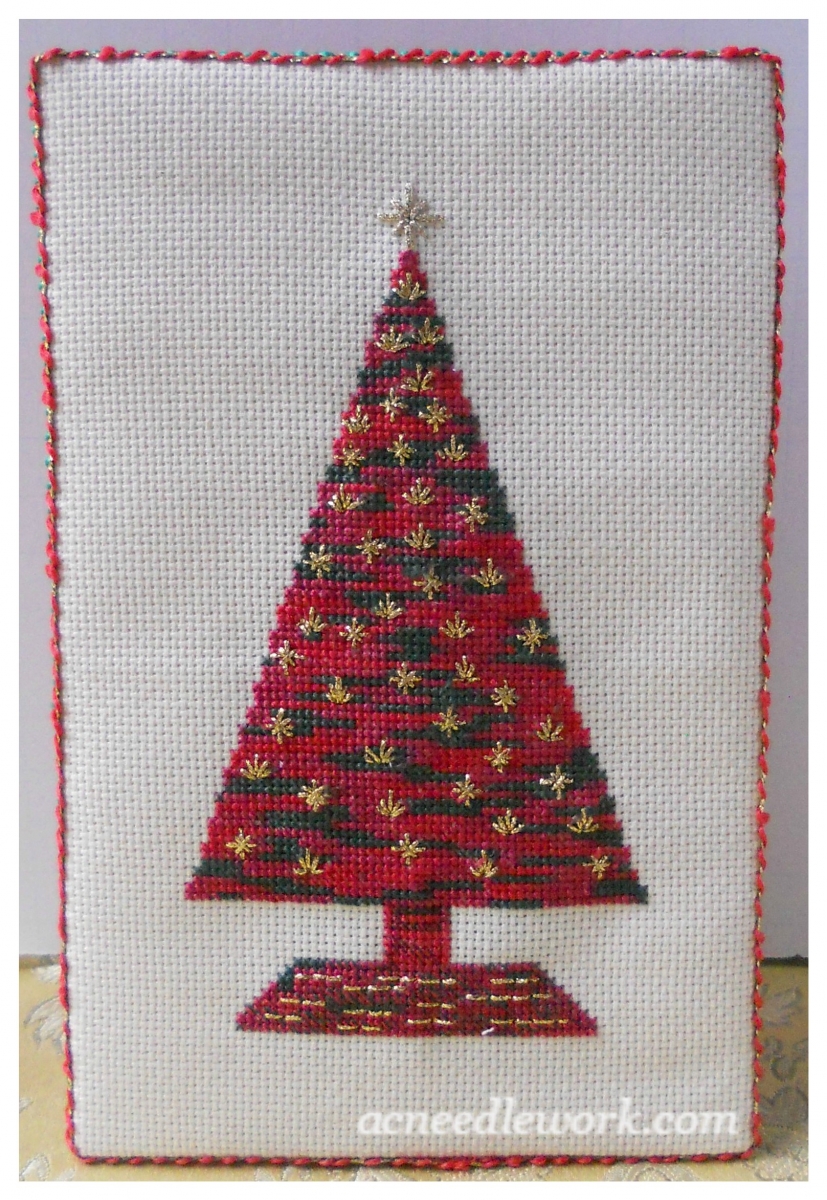
After your flat fold “sandwich” is completely dry, add trim if desired.
.jpg) |
.jpg) |
 |
 |
3 Reasons to Try Flat Fold
It’s Cost Effective
From start to finish, I probably spent less than $25 to flat fold this piece. In fact, I was lucky to get the backing fabric as fat quarters for $.95. I used two. The braid was a total of 1.50 and I already had fabric glue on hand. All of this is cheaper that having it professionally framed.
Versatility
Flat fold pieces are perfect for seasonal/holiday pieces. I will bring out my Christmas tree only at the holidays. Display possibilities are numerous. I can display my Christmas tree on a mantel, end table, or buffet table. Save yourself the extra work and time moving wall pictures for a short period of time.
Easy Storage
When you no longer need to display your piece, simply fold it, wrap it in acid free paper, and store it in an acid free box and leave it on a shelf. Want to clean it? The Twisted Stitcher recommends brushing it off with a soft brush, like a clean make up brush.
Would I finish other pieces using the flat fold process? Definitely, yes. The only thing that I found difficult was cutting the mounting board. It was hard for me to get the boards cut straight and evenly. Perhaps finding precut boards in the right sizes would make that easier. Other than that, I enjoyed the process and love the way it looks!

.jpg)
Social Media


Ways to Share